The Windows 7 operating system comes with (a new) option to create virtual hard drive [vhd] images that can be mounted in the operating system after creation. It is naturally also possible to mount images not created on the target system as well.
This works pretty much the same way that iso images and other disk images can be mounted in an operating system (usually using third-party software).
VHD images are automatically attached after their creation but never again automatically after the computer system has been rebooted. This is a nuisance for users who need to work regularly with the same vhd image on the computer system.
An easy option to automatically attach vhd images is to use the diskpart command line utility which is part of the Windows 7 operating system. Diskpart is a powerful tool to enable storage configurations from the command line (as well as remote sessions and scripts).
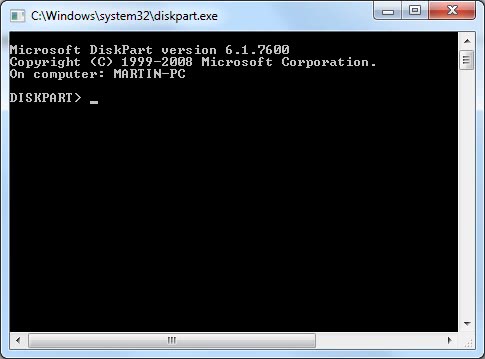
Diskpart can be launched manually by typing in diskpart in the run box in the Windows 7 start menu which will open a new command line window with Diskpart launched.
Update: If you run Windows 8 or newer, tap on the Windows key, type diskpart and hit the enter key. Diskpart will launch as it is included in newer versions of Windows as well.

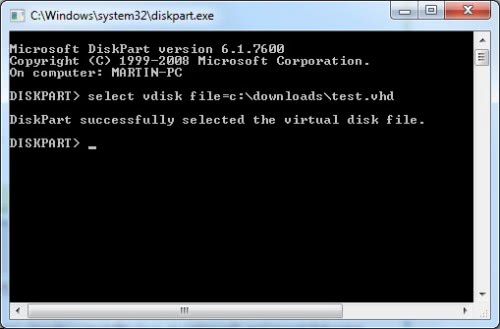
The first command specifies the vhd image that you want to attach to Windows 7 or newer versions of the Windows operating system.
You can copy the command below but need to adjust the path to the VHD file and the file name of it manually.
select vdisk file=c:pathtovhdfile

The second command attaches the specified vhd image. What happens here is that Diskpart remembers the VHD image that you have selected using the first command, and uses the information to attach it to the system.
attach vdisk

This is the manual process. To automate the process of attaching a vhd to the system do the following:
- Create a new text document and place the two commands from above in it.
- You can add those two lines again for every vhd image that should be automatically mounted during system start.
- Save the file as vhdattach.s.
- Create a new text document and add the following line to it: diskpart -s “c:pathtovhdattach.s”. Make sure you change the path to the location you saved the vhdattach.s file to, and make sure it is accessible on the system during start.
- Rename the text document to diskpart.cmd and place this file in the startup folder of the Windows start menu.You find the startup folder by loading %appdata%MicrosoftWindowsStart MenuProgramsStartup in Windows Explorer.
Diskpart.cmd will be executed on startup of the operating system. It will process the commands in vhdattach in diskpart so that the vhd images will be attached to the system automatically on each start of the PC.
It may be necessary on the first run to go into the disk management tool to format the vhd drives in Windows so that drive letters are assigned to them. The Disk Management tool can also be used to detach vhd images. To run Disk Management, tap on the Windows-key, type diskmgmt.msc and hit enter.