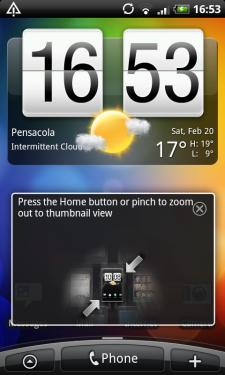
Here we go, folks. The first round of a new day in the life of HTC’s Sense user interface. In Part 1 of our review, we take a look at setting up your phone for the first time, including the new “Friend Stream” service, which integrates some of your favorite social networks.
Do note that the ROM we’re looking at was taken from the HTC Desire and is running on the Nexus One. This is far from official, there are bugs, and so we’re not holding anybody but ourselves accountable here. Also, as the Desire currently is a European/Asian product, things are likely to change before the new Sense officially hits the United States. So with that in mind, check in after the break for our first look at setting up the new Sense UI.
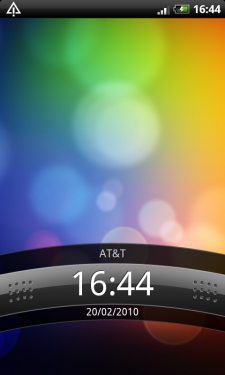
Flashing the Desire ROM onto the Nexus One was pretty straightforward using Paul from MoDaCo’s instructions. (Do remember to wipe first, m’kay?) The boot splash screen features the HTC logo, with “quietly brilliant” drawn in as animation. Boot takes a minute or so, and you’re greeted by the lock screen. Note how it defaults to a 24-hour clock, and the date is listed day/month/year, instead of the U.S.-customary month/day/year.
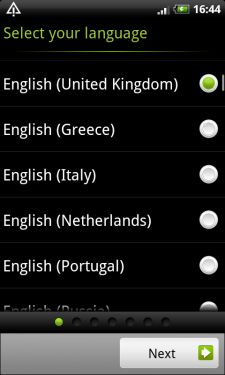
From there, it’s time to pick a language. As this is a European ROM, you see a bunch of European languages. There are a number English locale versions, including Austria, Switzerland, Germany, Spain, France, United Kingdom, Greece, Italy, Netherlands, Portugal, Russia, Norway, Denmark, Sweden, Finland, Czech Republic, Poland, Romania, Hungary, Slovakia and South Africa.
There are various locales of French, Italian, Spanish, Dutch, German, Greek, Portuguese, Russian, Polish and other European languages. Now it’s time to learn the new keyboard.
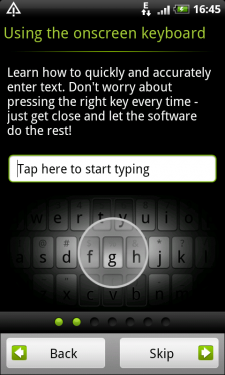
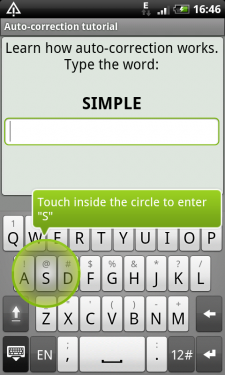
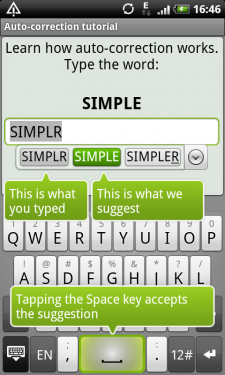

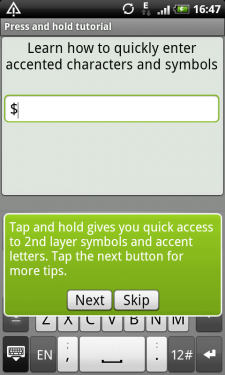
The biggest difference between the new Sense keyboard and what is stock on the Nexus One is the addition of numbers and symbols accessed by a long press. And that’s a very welcome addition. The keyboard has an inverted pyramid feel. The Android voice search button is present, and long-pressing it brings up the keyboard settings.
All in all, the keyboard is very usable, even after just a few minutes.
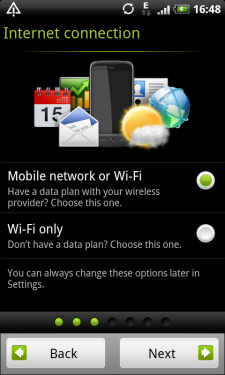
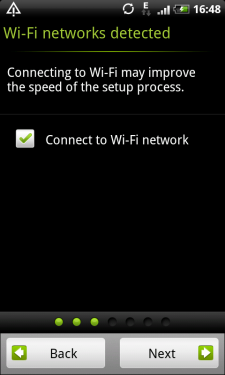
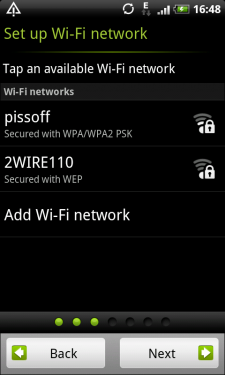
Up next is the data setup. Interestingly, it asks if you want to set up with cellular data and WiFi, or WiFi only. That’s a nice touch if you’re going to be using the phone without a data plan. Obviously that won’t be the case for most people, but it’s a sign that HTC acknowledges there are people who want to do so.
It’s also nice to be able to set up WiFi first thing, so that you can use it to pull down and sync all your Google data. That’s a biggie for those of us using the Nexus One unlocked on AT&T, which is limited to EDGE-only.
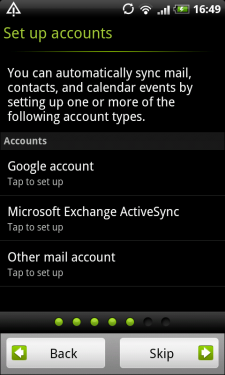
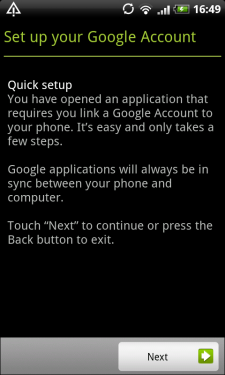
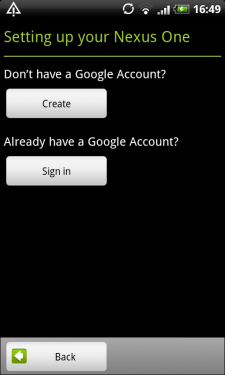
Now it’s time to sign in to (or set up) your Google account. Exchange setup is also front-and-center, which is good for those of you using it.
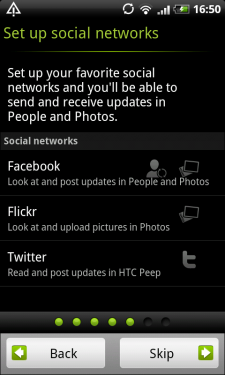
Now we set up Friend Stream, which is HTC’s integration of Facebook, Flickr and Twitter. You sign in to each in the normal manner, and then they’re all integrated into the Friend Stream app. (More on that in a future post.)
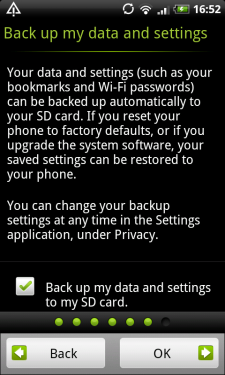
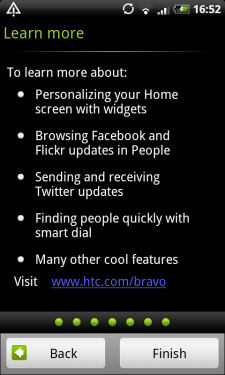
Wrapping up, you’re given the option to back up your data and settings to your SD card, which is a very nice touch.